 emplify software GmbH
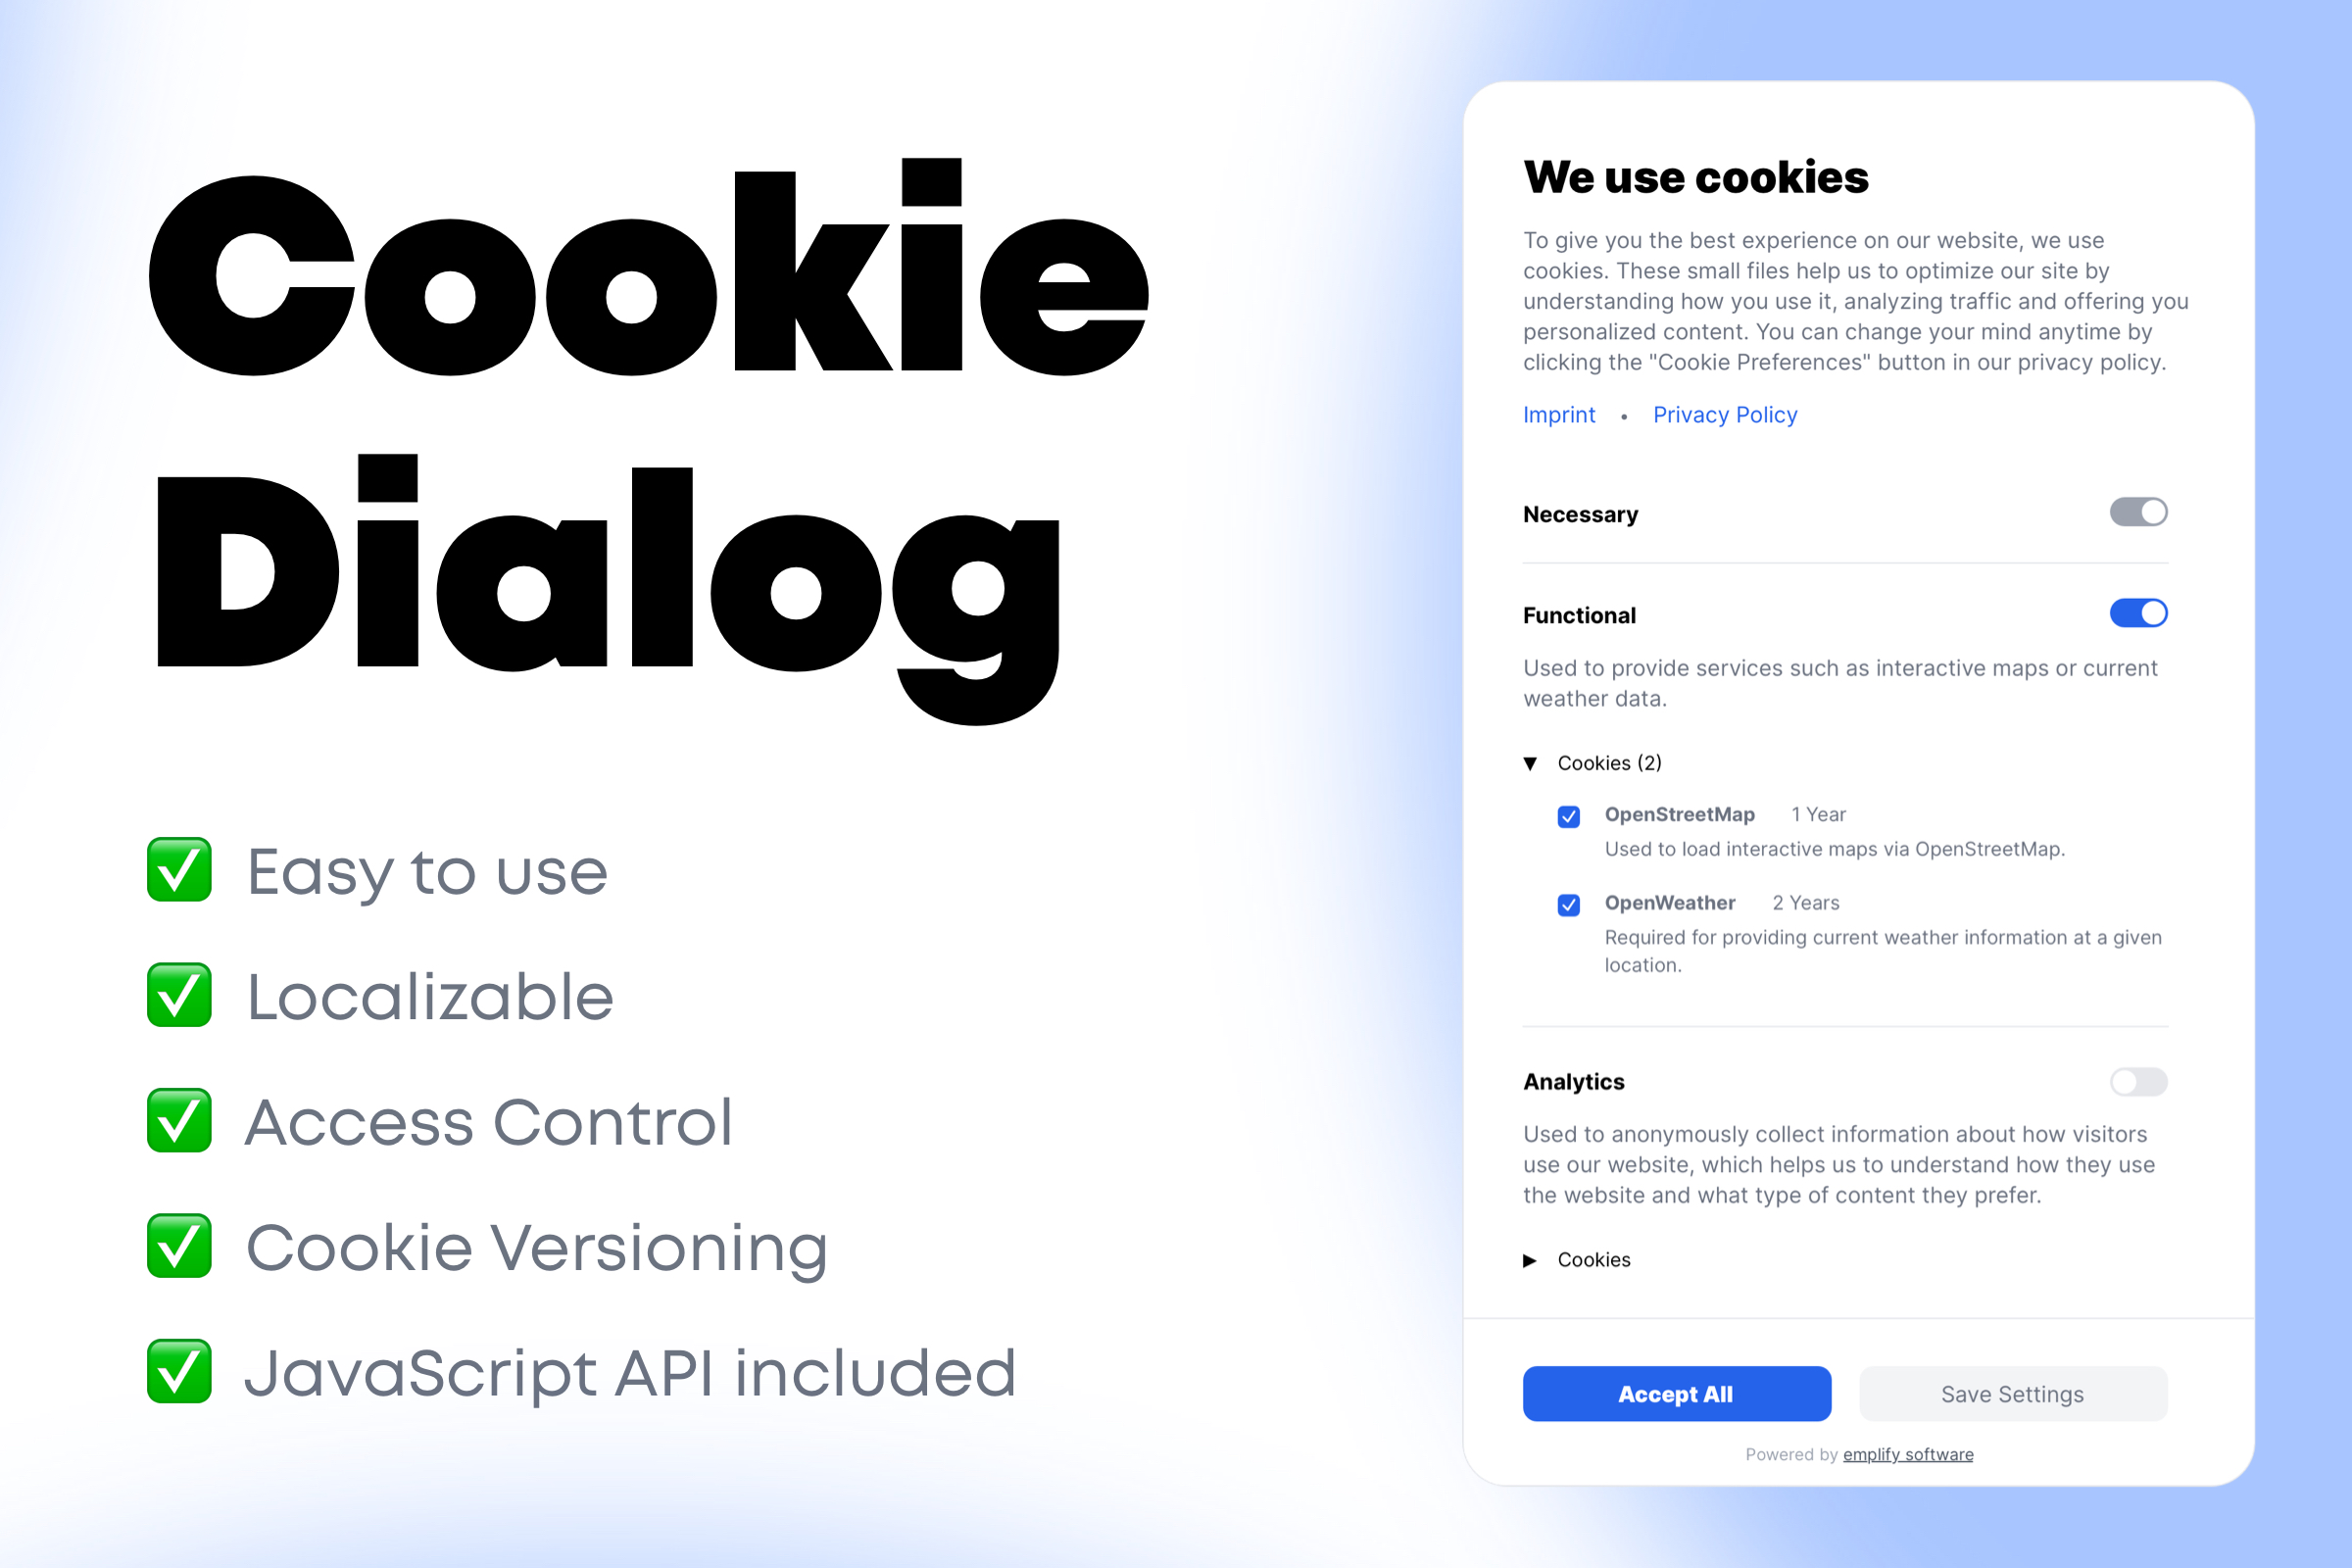
Manage cookie preferences in your Statamic projects with ease.
Features
This addon provides a customizable cookie dialog that allows your users to accept or decline cookies based on your defined cookie groups and individual cookies. You, on the other hand, show or block content dynamically based on the user's cookie preferences.
✅ Cookie dialog with customizable content
✅ Customizable cookie groups and cookies
✅ Tag to render content dynamically based on cookie preferences
✅ Tag to render fallback content if a given cookie is declined
✅ Floating button to open the cookie dialog manually
✅ Cookie versioning
✅ JavaScript API
✅ Dark/light mode support
✅ Multi-Site support
Note: If you want to upgrade your existing Statamic 4 or 5 project to Statamic 6 and already have this addon installed, take a look at the Upgrading to Statamic 6 section.
Note: This addon does not guarantee GDPR compliance. Please consult with a legal expert to ensure that your website is compliant with the applicable data protection laws.
🛠️ How to Install
You can search for this addon in the Tools > Addons section of the Statamic control panel and click install, or
run the following command from your project root:
composer require emplify-software/statamic-cookie-dialog
After the addon is installed, publish the cookie assets by running:
php artisan vendor:publish --tag=statamic-cookie-dialog
⭐️ Pro Version
You can purchase the pro version of this addon on the Statamic Marketplace.
After purchasing the pro version, you can enable it by setting the edition of the addon to 'pro' in the config/statamic/editions.php file of your project:
'addons' => [


    'emplify-software/statamic-cookie-dialog' => 'pro'

],
When the pro version is enabled, the attribution link to emplify software GmbH will be removed.
💡 How to Use
Cookie Dialog
To enable the cookie dialog for all pages, put the following tag anywhere in your layout.antlers.html file:
{{ cookie_dialog }}Note: If you have Static Caching enabled, make sure to wrap the
{{ cookie_dialog }},{{ cookie:allowed }}and{{ cookie:denied }}tags in a{{ nocache }}tag to prevent the cookie dialog from being cached:If you want to use full measure static caching, see the Full Measure Static Caching section for more information.
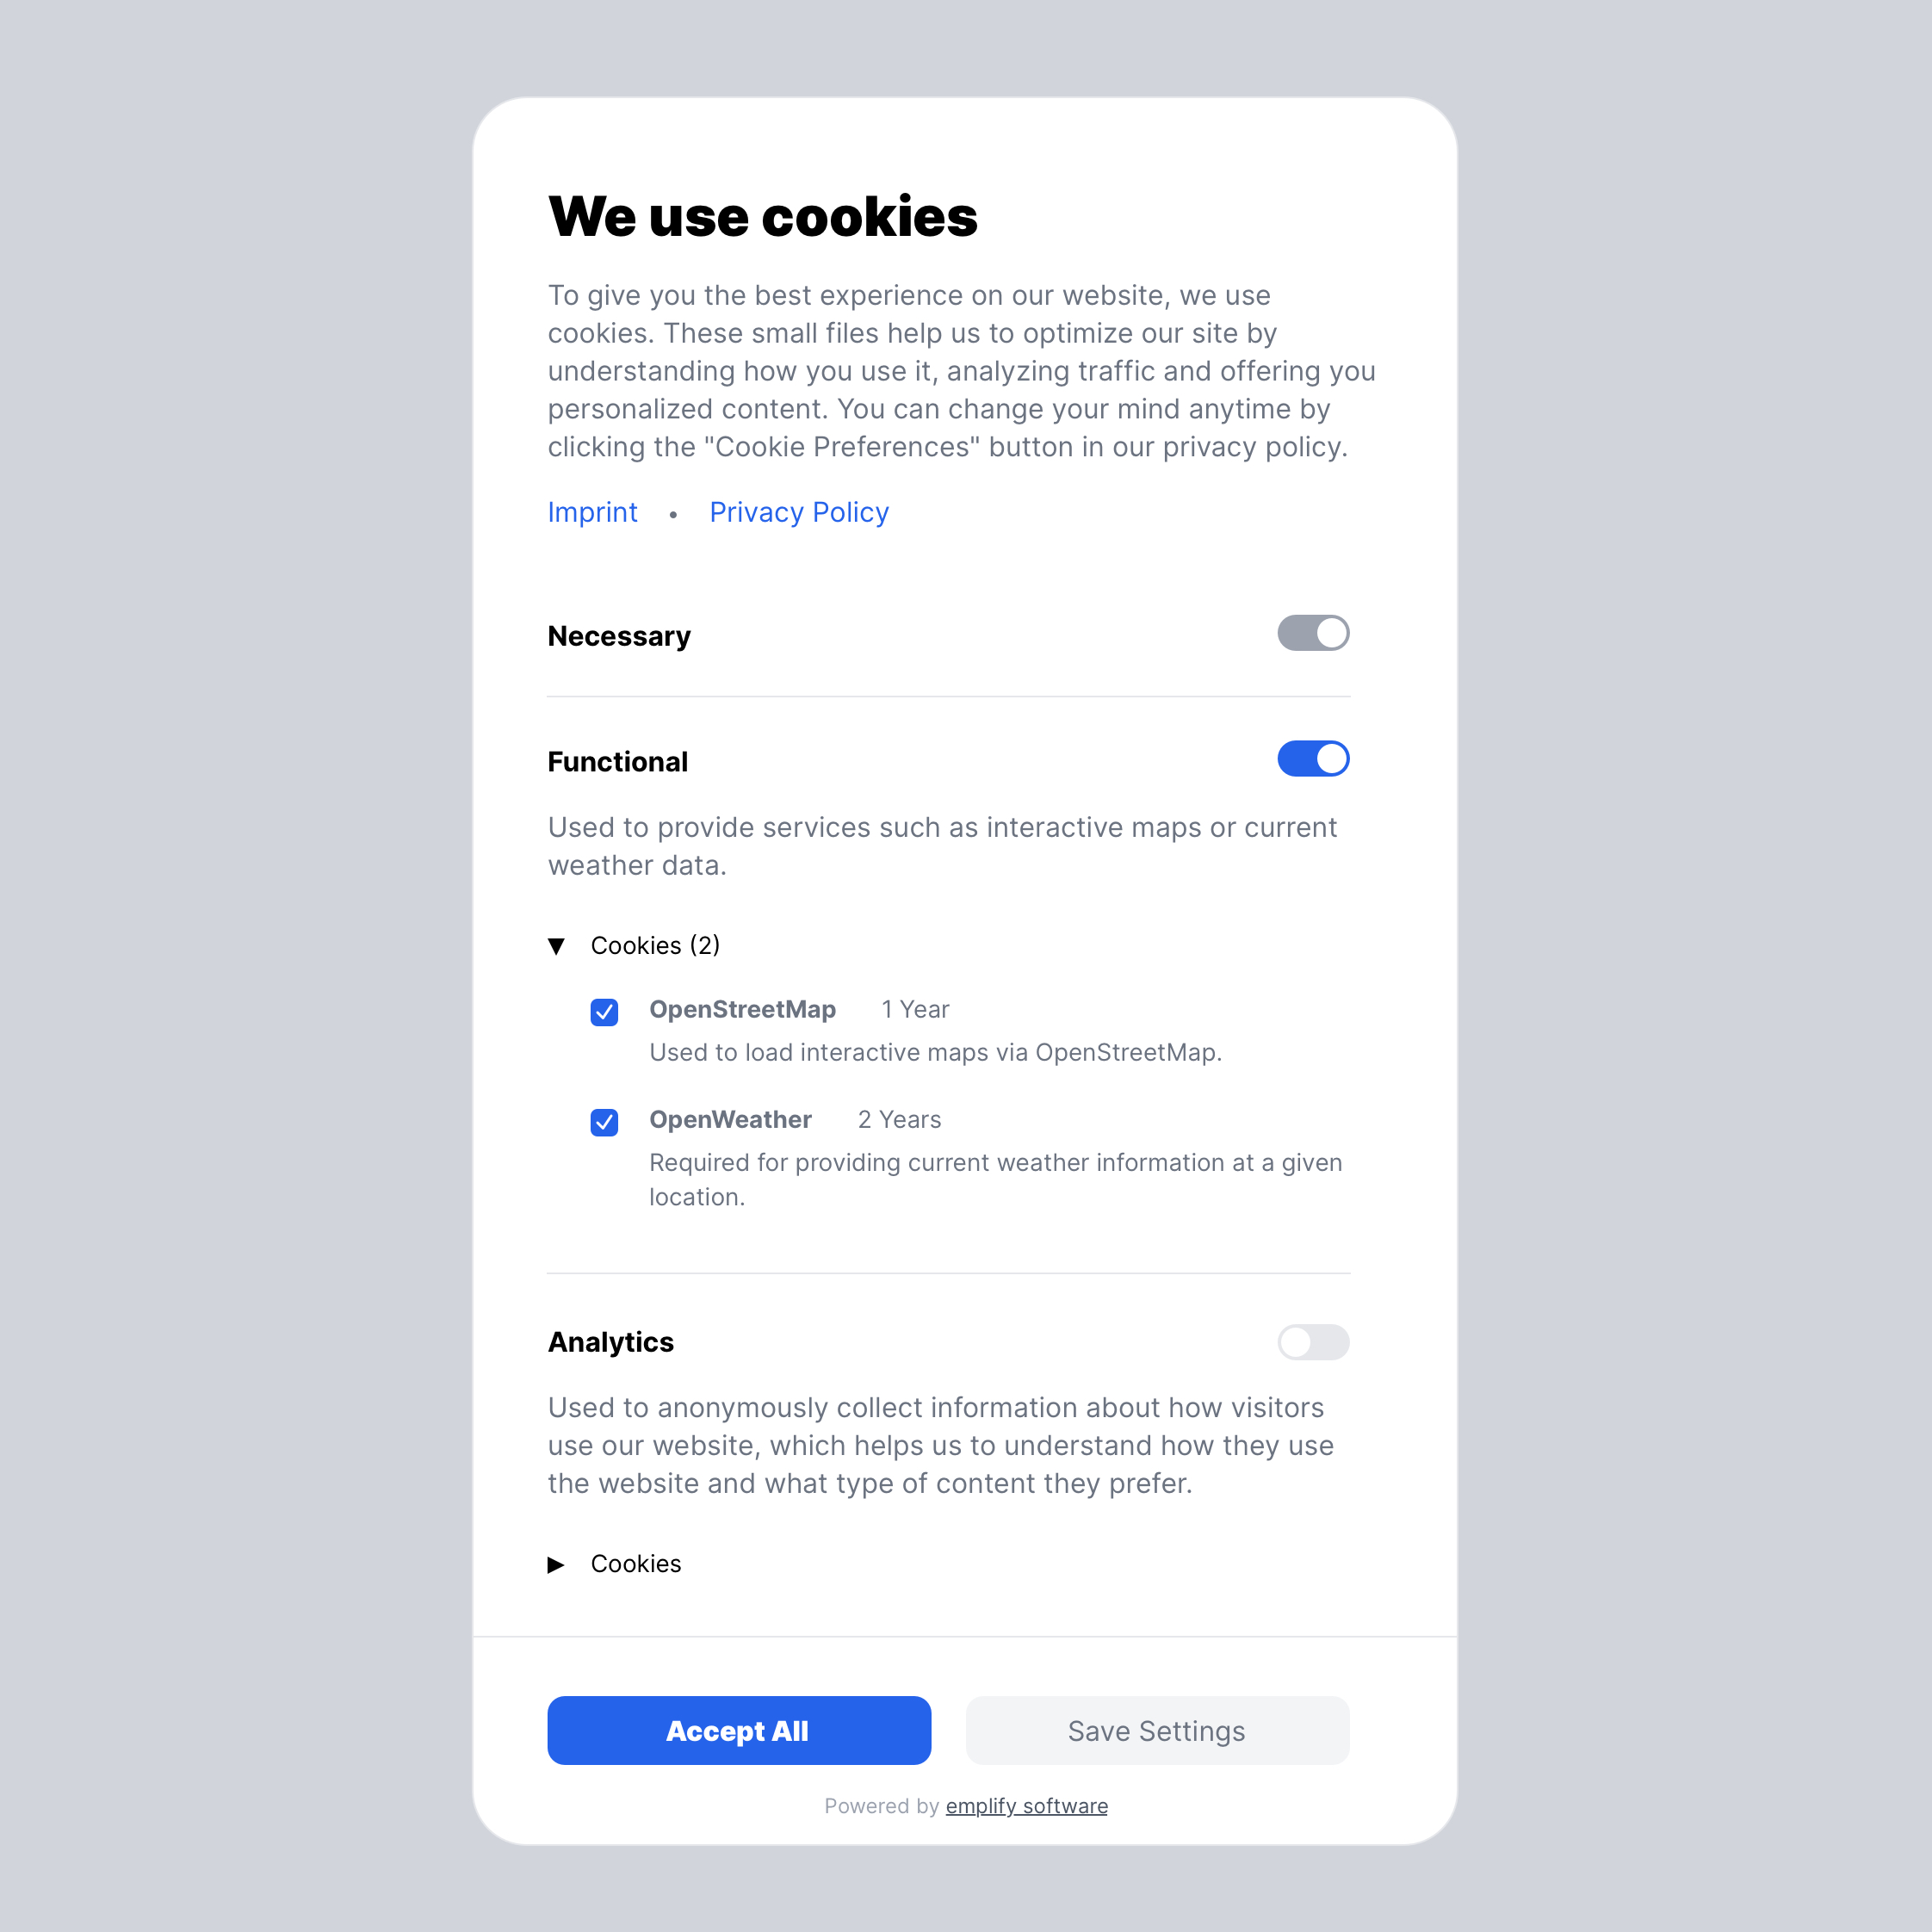
This will render a popup dialog that will ask the user to accept or decline cookies. A description text and an example cookie group is provided by default.
You have full control over the dialog content and all cookie settings in the control panel under
Tools > Cookie Dialog.
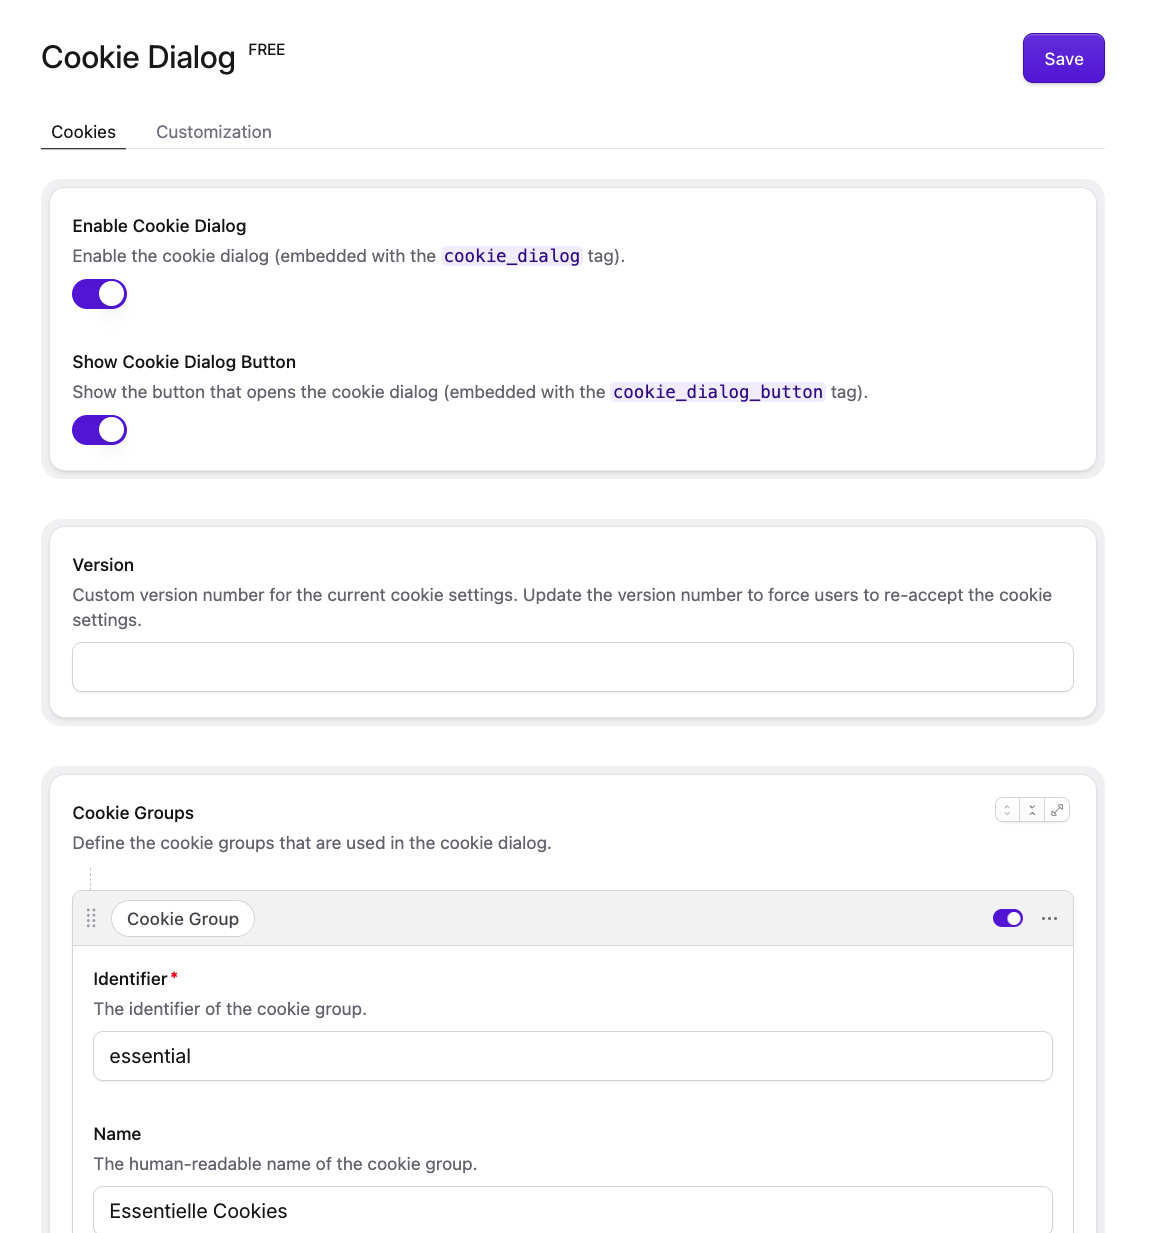
In the "Cookies" tab, you can enable or disable the cookie dialog, set the cookie version, and create or edit cookie groups. Cookie groups have a unique identifier, name and description and can be marked as required and optionally be checked by default. Each cookie group can contain multiple cookies with a name, description and lifetime.
In the "Customization" tab, you can customize the style and content of the cookie dialog, including the title, description, buttons and links to your imprint and privacy policy.
Floating Button
By adding the {{ cookie_dialog_button }} tag to your layout.antlers.html file,
you can display a floating button that opens the cookie dialog when clicked.
This allows users to change their cookie preferences at any time after the initial dialog has been closed.
{{ cookie_dialog_button }}Per default, the button is displayed in the bottom right corner of the screen.
You can change the position of the button and the button text in the control panel under Tools > Cookie Dialog > Customization > Cookie Dialog Button.
Enabling Content based on Cookie Preferences
You can wrap content in a {{ cookie:allowed }} tag to only show it if the user has accepted a specific cookie or
cookie group.
{{ cookie:allowed cookies="marketingCookieA|marketingCookieB" }}


    <p>

        This content will only be shown if the user has accepted
        the cookies marketingCookieA and marketingCookieB

    </p>

{{ /cookie:allowed }}
You can also allow content based on one or multiple cookie groups:
{{ cookie:allowed group="marketing" }}


    <p>

        This content will only be shown if the user has accepted
        the cookie group "marketing"

    </p>

{{ /cookie:allowed }}
{{ cookie:allowed group="marketing|statistics" }}


    <p>

        This content will only be shown if the user has accepted
        the cookie groups "marketing" and "statistics"

    </p>

{{ /cookie:allowed }}
Once the user has accepted the cookies, the content will be dynamically loaded without the need to reload the page.
This works with all types of content, including images, stylesheets, and scripts:
{{ cookie:allowed cookies="marketingCookieA|marketingCookieB" }}


    <script src="https://example.com/marketing-script.js"></script>

{{ /cookie:allowed }}
Enabling Fallback Content if Cookies Are Not (Yet) Accepted
You can wrap content in a {{ cookie:denied }} tag to only show it if the user has not accepted a specific cookie group
or cookie. This content will be displayed by default until the necessary cookies are accepted.
You can filter by cookies or groups in the same way as with the {{ cookie:allowed }} tag.
{{ cookie:denied cookies="marketingCookieA|marketingCookieB" }}


    <p>

        Please enable the cookies marketingCookieA
        and marketingCookieB to see this content

    </p>

{{ /cookie:denied }}


{{ cookie:allowed cookies="marketingCookieA|marketingCookieB" }}


    <p>

        This content will only be shown if the user has accepted
        the cookies marketingCookieA and marketingCookieB

    </p>

{{ /cookie:allowed }}
The content inside the {{ cookie:denied }} tag will be dynamically removed once the user has accepted the cookies.
Important: When using the
{{ cookie:allowed }}and{{ cookie:denied }}tags or the JavaScript API, a cookie group is regarded as allowed only if all cookies in the group are accepted by the user.This is not to be confused with the toggle switches in the cookie dialog: When any of the individual cookie toggles in a group are selected, the group toggle is automatically activated to indicate to the user that they have accepted a cookie from this group, but the group is not considered allowed until all cookies in the group are accepted.
Hiding the Cookie Dialog on Specific Pages
When you put the {{ cookie_dialog }} tag in your layout.antlers.html file, the dialog will be shown on all pages by default.
To hide the cookie dialog on specific pages (e.g. on the privacy policy page), you can set the hidden parameter depending on the page's URL or other conditions:
{{ cookie_dialog :hidden="current_uri == '/privacy-policy'" }}
By using the hidden parameter, you can still show the cookie dialog on the page later using the JavaScript API.
If you want to completely disable the cookie dialog on certain pages, you can wrap the {{ cookie_dialog }} tag in a conditional statement:
{{ if current_uri != '/privacy-policy' }}

    {{ cookie_dialog }}

{{ /if }}
Iterating over Cookie Groups and Cookies
You can iterate over all cookie groups and cookies in your cookie configuration using the {{ cookie_groups }} tag.
This can be useful if you want to display a table containing information about all the cookies used on your website (e.g. on a
dedicated privacy policy page):
<table>


  <thead>


    <tr>


      <th>Name</th>


      <th>Description</th>


      <th>Lifetime</th>


    </tr>


  </thead>


  <tbody>

    {{ cookie_groups }}
      {{ cookies }}

        <tr>


          <td>{{ cookie_identifier }}</td>


          <td>{{ cookie_description }}</td>


          <td>{{ cookie_lifetime }}</td>


        </tr>

      {{ /cookies }}
    {{ /cookie_groups }}

  </tbody>


</table>
Dark/Light Mode
Per default, the cookie dialog will automatically be displayed in dark or light mode based on the user's operating
system settings.
If you don't want to use the automatic mode, you can select a specific color mode in the control panel
under Tools > Cookie Dialog > Customization > Theme.
To toggle between dark and light mode dynamically, you can also add or remove the dark class in the <html>
tag of your website with JavaScript:
document.documentElement.classList.add('dark'); // Enable dark mode


document.documentElement.classList.remove('dark'); // Enable light mode
Full Measure Static Caching
Due to a limitation of Statamic's Full measure caching strategy in combination with nocache tags,
to support full measure static caching, you need to add the following tag (e.g. in your layout.antlers.html file) to ensure that the necessary
cookie scripts are loaded correctly:
{{ cookie_scripts }}Make sure that this tag is not wrapped in a {{ nocache }} tag.
This is a temporary workaround until Statamic supports loading scripts in nocache tags.
🧩 JavaScript API
This addon also provides a JavaScript API that allows you to interact with the cookie dialog and the cookie preferences.
The JavaScript API is accessible through the global CookieDialog object when a {{ cookie_dialog }} tag is present on
the page.
Triggering the Cookie Dialog Manually
You can trigger the cookie dialog manually with JavaScript by calling the following global function:
CookieDialog.showDialog()
This will open a non-blocking dialog that gives the user the option to change their cookie preferences.
Per default, the page will be reloaded after the user has saved their new cookie preferences to apply the changes to
content wrapped in {{ cookie:allowed }} or {{ cookie:denied }} tags.
If the user closes the dialog without saving, if there are no changes to the cookie preferences, or if the
content can be dynamically injected without a page reload, the page will not be reloaded.
You can explicitly override this default reload behaviour:
- To prevent the page from reloading, pass
falseas a parameter. - To force reload the page when the cookie preferences have changed, pass
trueas a parameter
CookieDialog.showDialog(false) // Prevent page reload after saving cookie preferences
We recommend putting a button or link on your website that allows the user to change their cookie
preferences at any time. This can be done by calling CookieDialog.showDialog() when the button is clicked:
<button onclick="CookieDialog.showDialog()">Change Cookie Preferences</button>
Accessing the Cookie Preferences
You can access the user's cookie preferences as stored in the browser cookie via CookieDialog.cookiePreferences.
This object contains the version, timestamp, and all accepted cookies grouped by cookie group, e.g.:
{

    "version": "1",


    "timestamp": 1724072915147,


    "cookies": {


        "marketing": {


            "marketingCookieA": true,


            "marketingCookieB": true


        },


        "statistics": {


            "statisticsCookieA": true,


            "statisticsCookieB": false


        }


    }

}
The cookie preferences object conforms to the following TypeScript interface:
interface CookiePreferences {


    version: string;


    timestamp: number;


    cookies: {


        [cookieGroup: string]: {


            [cookieName: string]: boolean;


        };


    };

}
You can also get a list of all currently accepted cookies with CookieDialog.allowedCookies (string[]) and a list of
all currently accepted cookie groups with CookieDialog.allowedGroups (string[]).
🔢 Cookie Versioning
You can set a cookie version in the cookie settings (under Tools > Cookie Dialog). This version will be stored in the
visitor's browser cookies and will be checked against the current version in the cookie settings.
When the version is updated, the cookie dialog will be shown again to all users, even if they have already accepted
the cookies.
🔐 Access Control (Permissions)
If you want to allow only certain users to access the cookie dialog settings in the control panel, make sure to set the
manage cookie dialog permission for a user's role. You may also manage this permission under the "Permissions" section
in the control panel.
🌐 Translations
You can customize the translations of the cookie dialog by creating a new language file in the resources/lang
directory of your Statamic project.
The language file should be named [lang].json, where [lang] is the language code of the translation (e.g. en for
English or de for German).
In the translation file, you can define the mapping of the default English texts to your desired language (see https://laravel.com/docs/11.x/localization#using-translation-strings-as-keys for further information).
🎨 Customizing CSS
The cookie dialog and floating button are embedded inside a shadow DOM to prevent CSS conflicts with your website's styles. This means that any CSS you write in your project will not affect the cookie dialog or floating button.
However, you can still customize some parts of the cookie dialog by using the ::part() pseudo-element selector.
With the part selector, you can style the following parts inside the cookie dialog:
-
#cookie-dialog::part(dialog)to apply styles on the outer dialog element -
#cookie-dialog::part(text)to apply styles to all texts inside the dialog -
#cookie-dialog::part(button)to apply styles to the buttons inside the dialog
Examples:
/* Change the border radius of the dialog */

#cookie-dialog::part(dialog) {


    border-radius: 20px;

}

/* Change the text color of the dialog */

#cookie-dialog::part(text) {


    color: #333;


    font-family: 'Helvetica', sans-serif!important; /** '!important' is required to override the default font family */

}
Note: If you are using Tailwind 4+, the default sans font that is configured in your project is automatically applied to the cookie dialog.
Similarly, you can use the ::part() pseudo-element selector to style the floating button:
-
#cookie-dialog-button::part(button)to apply styles to the button element -
#cookie-dialog-button::part(icon)to apply styles to the icon inside the button -
#cookie-dialog-button::part(text)to apply styles to the text inside the button
Examples:
/* Change the border radius of the button */

#cookie-dialog-button::part(button) {


    border-radius: 10px;

}

/* Change the size of the icon */

#cookie-dialog-button::part(icon) {


  width: 30px;

}

/* Change the font size of the button text */

#cookie-dialog-button::part(text) {


    font-size: 14px;

}
📄 License
You may use this addon free of charge under the terms and conditions of the License Agreement. To give you a short overview, here are the main points:
✅ You can:
- Use the Software on your own websites or on websites that you build for clients for both non-commercial and commercial purposes
- Modify the Software for your own use or for use on websites that you build for clients
❌ You cannot:
- Remove or obscure the required attribution link to emplify software GmbH without explicit permission
- Redistribute the Software in any form, whether modified or unmodified, to any third party
The attribution link to emplify software GmbH in the cookie dialog will automatically be removed when you purchase the pro version of this addon.
🛟 Support
This addon is actively maintained and supported by emplify software. If you encounter any issues, feel free to open an issue on the GitHub repository.
Upgrading to Statamic 6
This addon is compatible with Statamic 6. If you previously had the addon installed in a Statamic 4 or 5 project
and are upgrading to Statamic 6, make sure to update set the version for "emplify-software/statamic-cookie-dialog" to "^3.0" in your composer.json file.
Afterward, run the following commands to update the addon to the latest version and publish the new assets:
composer require emplify-software/statamic-cookie-dialog


php artisan vendor:publish --tag=statamic-cookie-dialog