
 Jouri Jalving

Statamic Autograph is a Statamic addon that makes it easy to create HTML signatures for every member of your team. Create your own unique templates, then use Autograph to generate personalized HTML code that is ready to use in their favourite e-mail client.
Features
With this addon, you can:
- Create e-mail signature templates using Antlers or Blade files.
- Generate HTML code that is ready to use in your teams favorite e-mail client.
- Preview what the e-mail signature will look like for each team member.
- Get user data from control panel accounts or any other collection.
- Fully customizable design with support for multiple template files.
How to Install
You can search for this addon in the Tools > Addons section of the Statamic control panel and click install, or run the following command from your project root:
composer require j-jalving/statamic-autographHow to Use
Using Statamic Autograph is really simple:
- Make sure at least one template file is present in the templates folder (default:
resources/views/autograph). A simple default template can be published as a starting point (see instructions below). - Open the Autograph page, select a user and click the Generate button.
- An HTML code block will appear, copy this code to your prefered e-mail client.
Note: I don't have instructions how to do this for each client, but a quick Google search should do the trick.
Create a template
By default, the addon looks for .antlers.html or .blade.php template files in the resources/views/autograph folder (though this path can be changed in the config). You can do everything in your template that you can do in any other Antlers view, but on top of that an autograph variable is avaiable containing all data for the selected user.
Important!
To make sure your images and links work everywhere, make sure you use the included full_url modifier on all relative url's like this:
<img src="{{ url | full_url }}" />This converts them to absolute url's that will work everywhere.
Configuration
A config file can be published (see below) for you to specify your own personal preferences. All options are are explained in the config file.
Publishables
You can publish all of the publishables with:
php artisan vendor:publish --provider="JJalving\Autograph\ServiceProvider"Or publish them individually by using tags:
php artisan vendor:publish --provider="JJalving\Autograph\ServiceProvider" --tag="config"php artisan vendor:publish --provider="JJalving\Autograph\ServiceProvider" --tag="templates"Interface
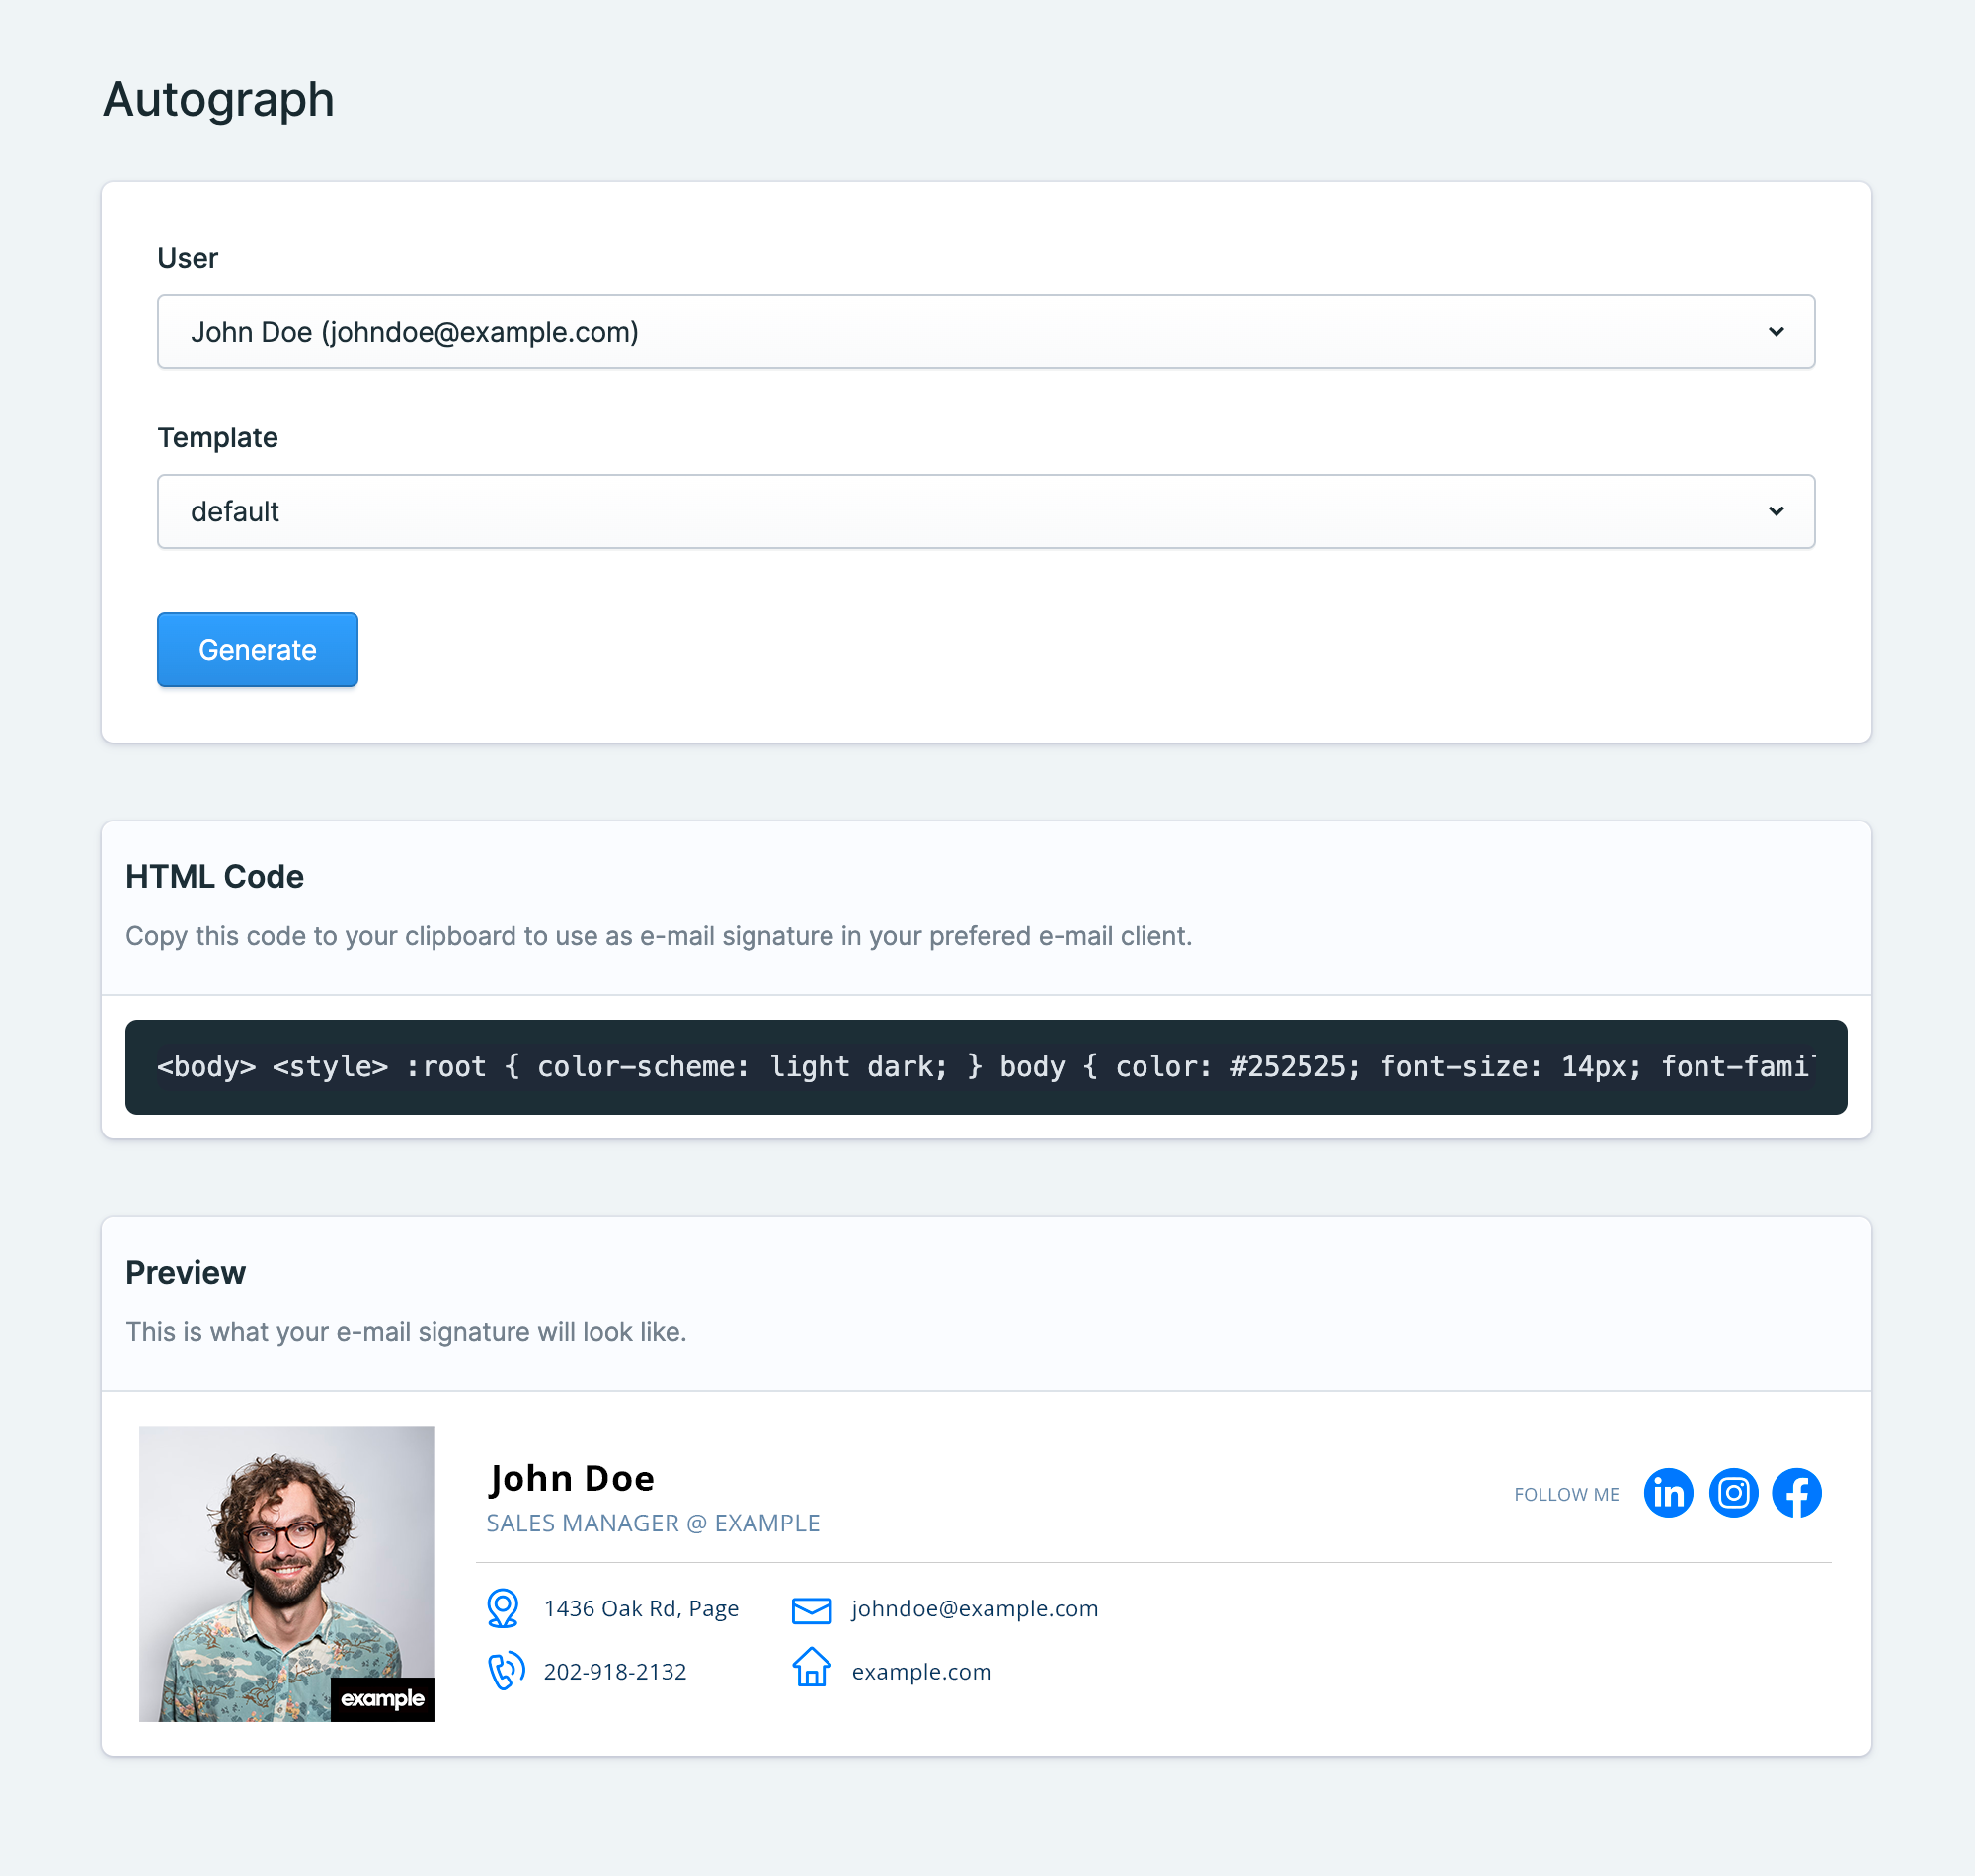
The interface is made as simple as possible for your users. Simply select a user and template, then submit. A preview and the HTML code will be displayed, ready to copy.
Troubleshooting
• The user dropdown is empty
Make sure the user_collection config value is correct.
• The templates dropdown is empty
Check the path to the templates folder in your config (default: resources/views/autograph) and make sure it has at least one .antlers.html or .blade.php template file in it.
• My images don't load
Do your images work in the preview window, but they wont't load your my email client? Make sure you use the full_url modifier on your image url's.