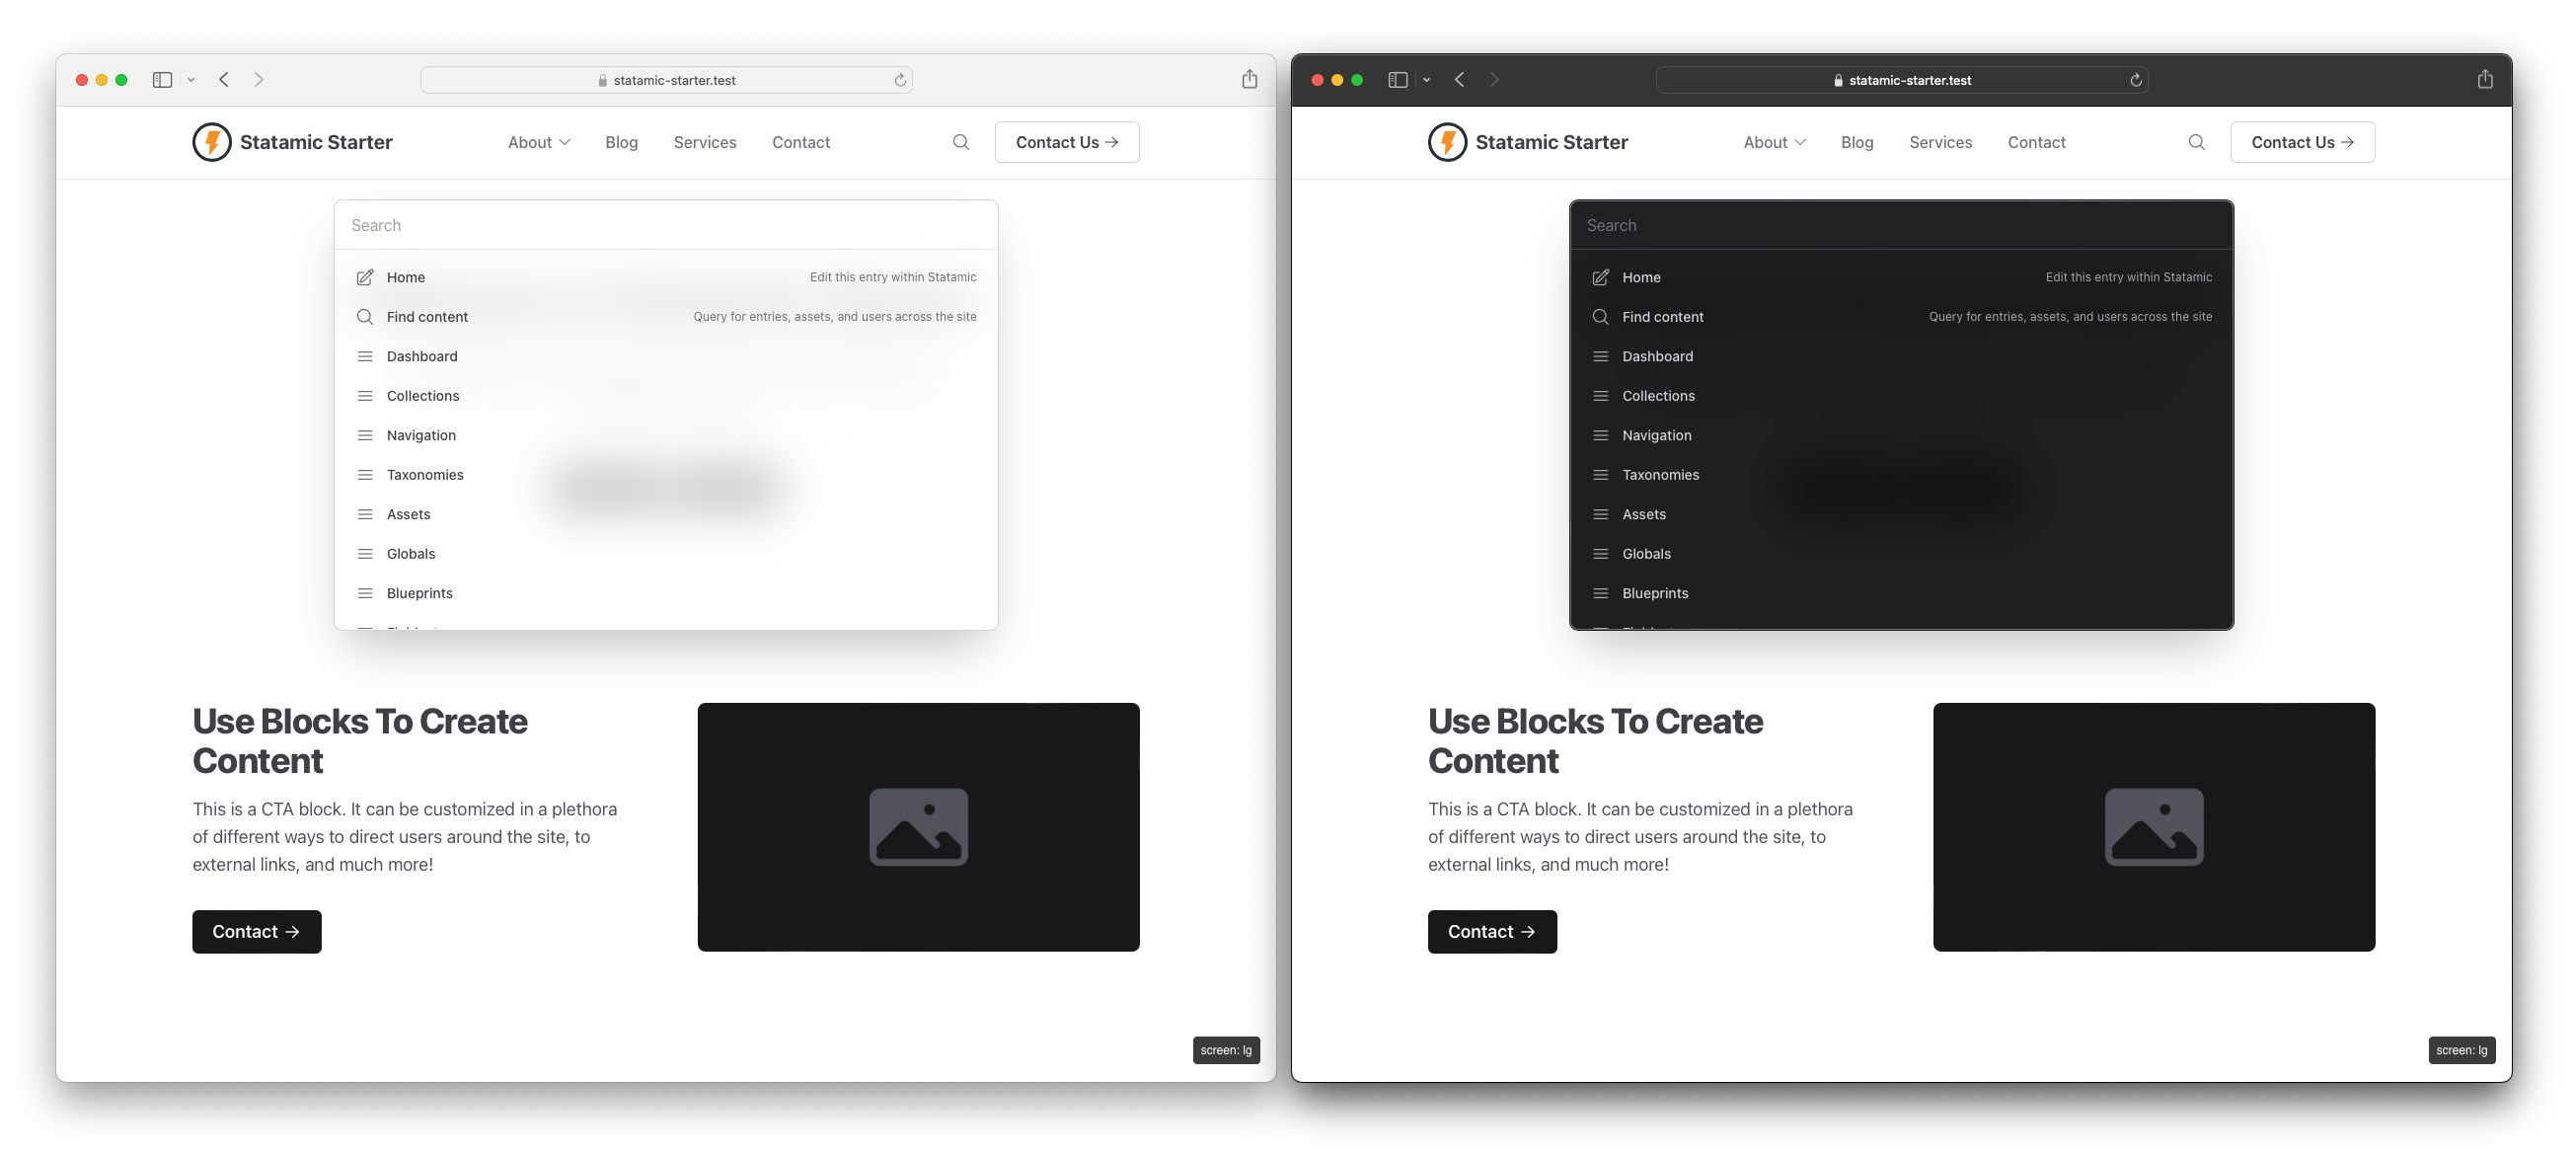
[!IMPORTANT] Once Statamic 6 is released Palette will be retired. The control panel will have a first-party command palette you should use instead!
 Palette
⌨️ CMD+K your way around Statamic!
🤔 What is Palette?
Palette allows you to easily jump between areas, entries, assets, and users within Statamic without lifting your hands off the keyboard!
If you're a developer, you likely use something like Raycast, Alfred, or Spotlight.
That should also exist in the CMS you use most, right? With Palette you can now jump around with ease!

⚡️ Features
- 🔍 Available on the front-end and in the control panel
- 🌗 Light and dark mode support
- ⭐️ Zero setup necessary; just install and enable
- 🏎 Compatible with full-page static caching strategies
- 🔐 Actions change based on user permissions and if admin changes are allowed
- 🎛️ Change contexts to filter actions or search your content
- 🔌 Plugins that register navigation links, settings areas, and utilities are included automatically
- 💅 Add your own custom URLs via the config file
📦 Installing
- Run
composer require trendyminds/statamic-palette - Optionally publish the config file by running
php artisan vendor:publish --tag="palette-config" - Add the following right before your closing
</body>in your main layout file:
<!-- if Antlers -->
{{ palette }}

<!-- if Blade -->
{{ Statamic::tag('palette')->fetch() }}- To enable searching your site's content, you need to create a
palettesearch index within Statamic. Make sure you update the index after creating it! Below is an example of what that might look like inconfig/statamic/search.php:
'indexes' => [


    // ...your other search indexes


    // Palette search


    'palette' => [


        'driver' => 'local',


        'searchables' => 'all',


        'fields' => ['title', 'summary'],


    ],


]
Tests
This project does not currently have tests, but I would love to encorporate them in subsequent versions
🤝 Contributing
If you would like to contribute to Palette we tried to make it as easy as possible:
- Clone the repo
- Run
npm ito install the Node dependencies - Run
npm run devto begin the watch task - Make your changes
- Run
npm run buildto compile and minify the CSS and JS - Submit a PR!


